
To make your blog posts attractive, thumbnails are usually inserted at the beginning of the post or after the opening words. This allows the blog to look neater.
To create a Simple Blog Thumbnail Using Gimp, you can follow my method.
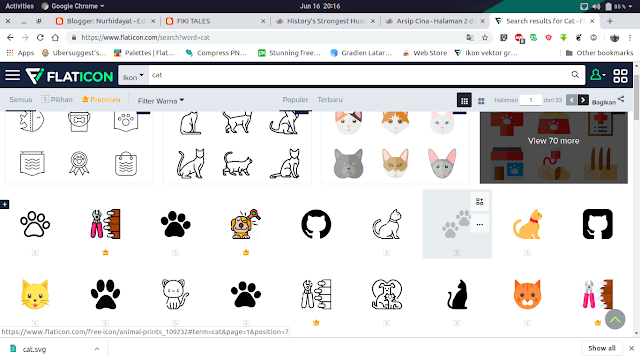
- Make sure you have an icon with a transparent background that matches the topic of the article. I usually get them from Google or flaticon.com.
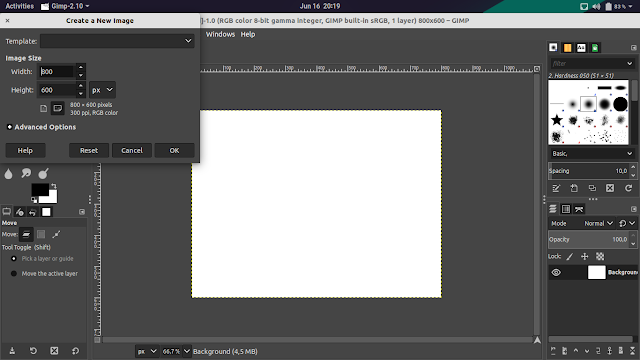
- Now open Gimp and create a new project with a width of 800 px and a height of 600 px.
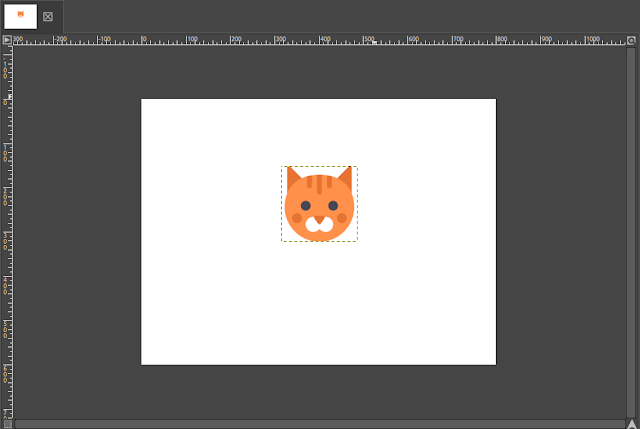
- Now click File > Open as Layer, then select the icon you prepared earlier and adjust its size using a tool like this.
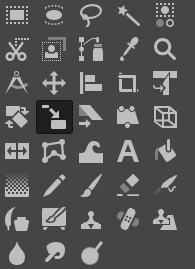
When shrinking or enlarging, press Shift if you want to maintain the aspect ratio.
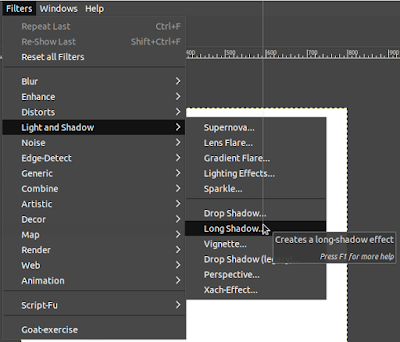
- If the size and position are set, we just need to change the layer size by clicking Layer > Layer to Image Size. Once that's done, we apply the Long Shadow effect by clicking Effect > Light and Shadow > Long Shadow.
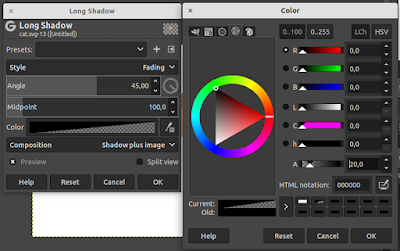
Set it up as follows:
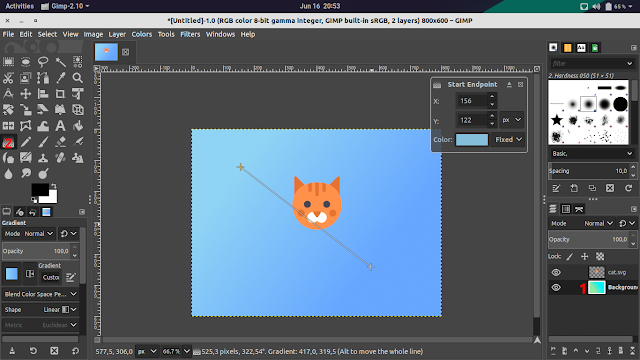
- Now change the background using Gradient or Bucket Fill. If you don't have color references, you can use flatuicolors.com or webgradients.com.
Now it's done, just export it and use it as a thumbnail on your blog.
Icons made by Freepik from www.flaticon.com is licensed by CC 3.0 BY