How to Create a Blogger API Key
A Blogger API Key is used for authentication to identify that the access is not from an unauthorized person. What is an API Key?
A Blogger API Key is used for authentication to identify that the access is not from an unauthorized person.
What is an API Key?
An API Key, also known as a token, is a code used to identify a user, developer, or program calling a website.
API Keys are also used to track and control how an API is used, thereby preventing API misuse.
That’s what I read from rapidapi.com.
What is a Blogger API Key?
A Blogger API Key has the same function as an API Key itself. A Blogger API Key is not only used for Blogger; if you use it for several APIs like YouTube and Firebase, it’s because the API Key is taken from the Google Cloud Console, so one API Key in one project covers all Google Cloud products. If you configure it only for Blogger, then that API Key can only be used with the Blogger API.
How to Get a Blogger API Key
To get one, you must have a Google account connected to Blogger, where you are the admin of that Blogger account.
1. Create a Project
Now open Google Cloud Console. If this is your first time using Google Cloud Console, a popup like the following will appear.
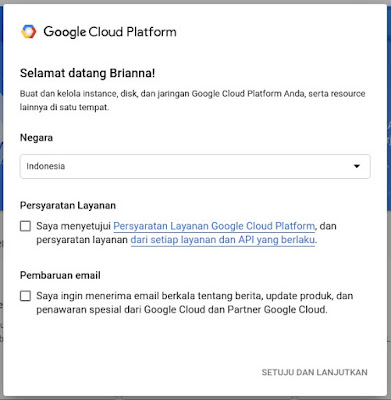
Please select your country and check the terms of service. You can also read the terms of service first by clicking the available link. If you check Email Updates, you will receive newsletters, notifications, product updates, and promotions from Google Cloud services and their partners to your email. Please click agree and continue if you have checked the terms of service.
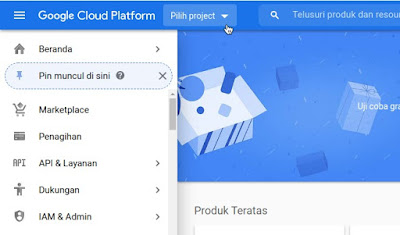
Now click Select project in the navbar to the left of the search column.
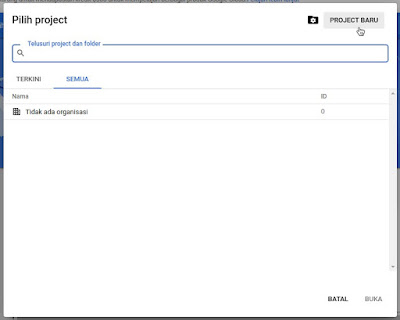
A new popup will appear containing your projects. If you have created projects there before, there will be several projects. If you are new, please click New Project in the top right of the popup.
And now you will be given a project creation form. Please fill it in as desired for the project name, and for the project ID, you can use the default or customize it.
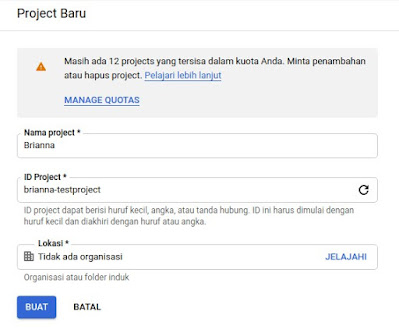
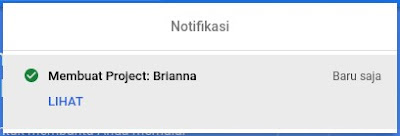
Please click create when you have finished filling it in. If the project is successfully created, a notification like the following will appear.
2. Create a Blogger API Key
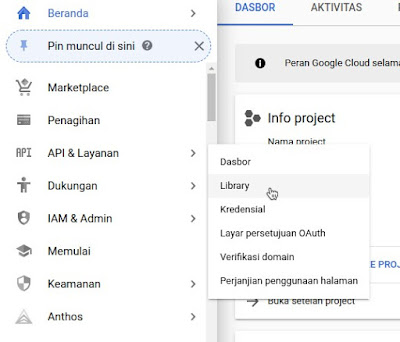
Now click on API & Services, then click on Library, or just hover your cursor over that section and select Library.
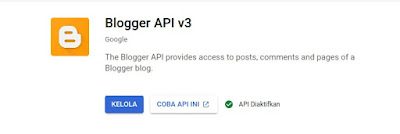
Now type Blogger in the search column, so it appears as follows. Please click Blogger API v3.

Please click enable, because I have already enabled Blogger API v3, so the button has changed to manage.
Then we can create credentials either from the Create Credentials button so Google suggests an API Key according to your needs, or go to the Credentials section first. But here we will go directly to Credentials so it doesn’t take long.
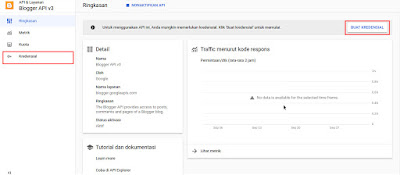
Then a popup like the following will appear. The part I covered with red is the API Key you can use later. Click restrict key to restrict it.
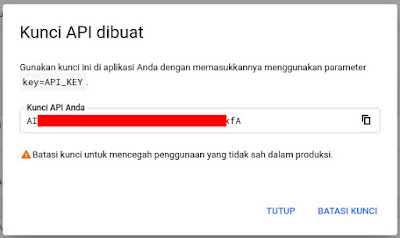
Follow the video below for more details. For the item column, it must be your own domain. In the services section, you can choose Blogger API v3 or all. After saving, the API key can be used and, of course, only from your domain. If your blog still uses a blogspot subdomain, it can still be used, but there is a slight risk. Please try it.
Final Words
In future posts, I will create a related posts widget and also next/previous buttons based on labels. You can subscribe to email to get the latest updates from me.
You might also want to read this post: Understanding Blogger API v3